
STEAM Connections: Wind Energy
The wind is all around us, but did you know we can use wind to create electricity? Let’s explore wind energy with our very own windmills!
Wind energy is an alternative energy source that can be used to produce electricity. In this STEAM Connections activity, we are going to build a wind mill to see how the wind can be harnessed to create energy. But first, let’s get some background information.
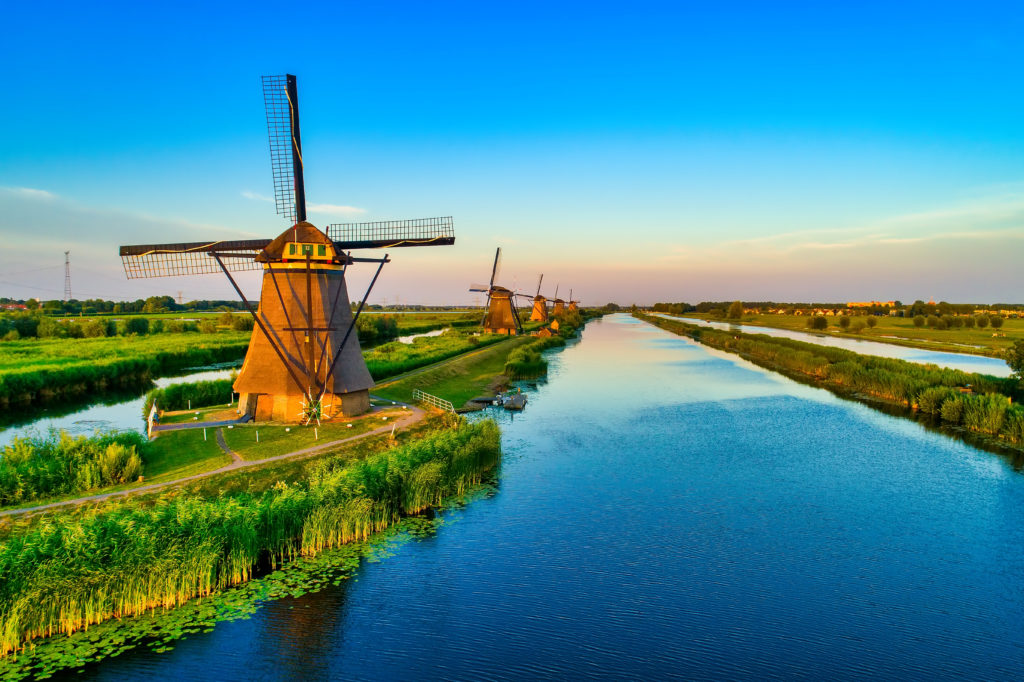
Windmills have been used by people for more than 1,000 years: the first windmills were used to grind grain. Later, windmills were used by the Dutch to pump water; and today, we use wind mills called wind turbines, to harness energy from the wind.
Wind turbines are tall towers with long blades on the top. These blades are connected to a vertical rod called shaft. When the wind causes the blades to spin, the shaft turns. The turning shaft powers the generator, which produces electricity. Because this power is created by the movement of the shaft, the energy created by wind turbines is kinetic energy.
Windmills are a type of simple machine. The oldest windmills and the newest wind turbines are both examples of a wheel and axle machine.
A group of wind turbines is called a wind farm. If you have ever visited Lubbock, Texas you might have driven past a wind farm on your way there. Large wind turbines can produce up to 1.8 megawatts of power with blades reaching over 130 feet in length. These turbines can be around 260 feet tall!
Watch our video to see how we made a windmill will some household supplies, and keep scrolling for the supply list and instructions.
Supplies

- Cardstock or construction paper (thicker is better)
- String (cotton or poly is best)
- Paper Clips
- Rubber bands
- Scissors
- Tape
- Large disposable cups (Rec 16oz)
- Small disposable cups (Rec 6oz)
- Large Straws
- Small Straws (small straw should move freely within large straw)
Optional Add-Ons: hole punch; box fan or blow dryer; crayons, markers or other materials to decorate their windmill; stopwatch or timing device; and pennies
Step-by-step instructions:
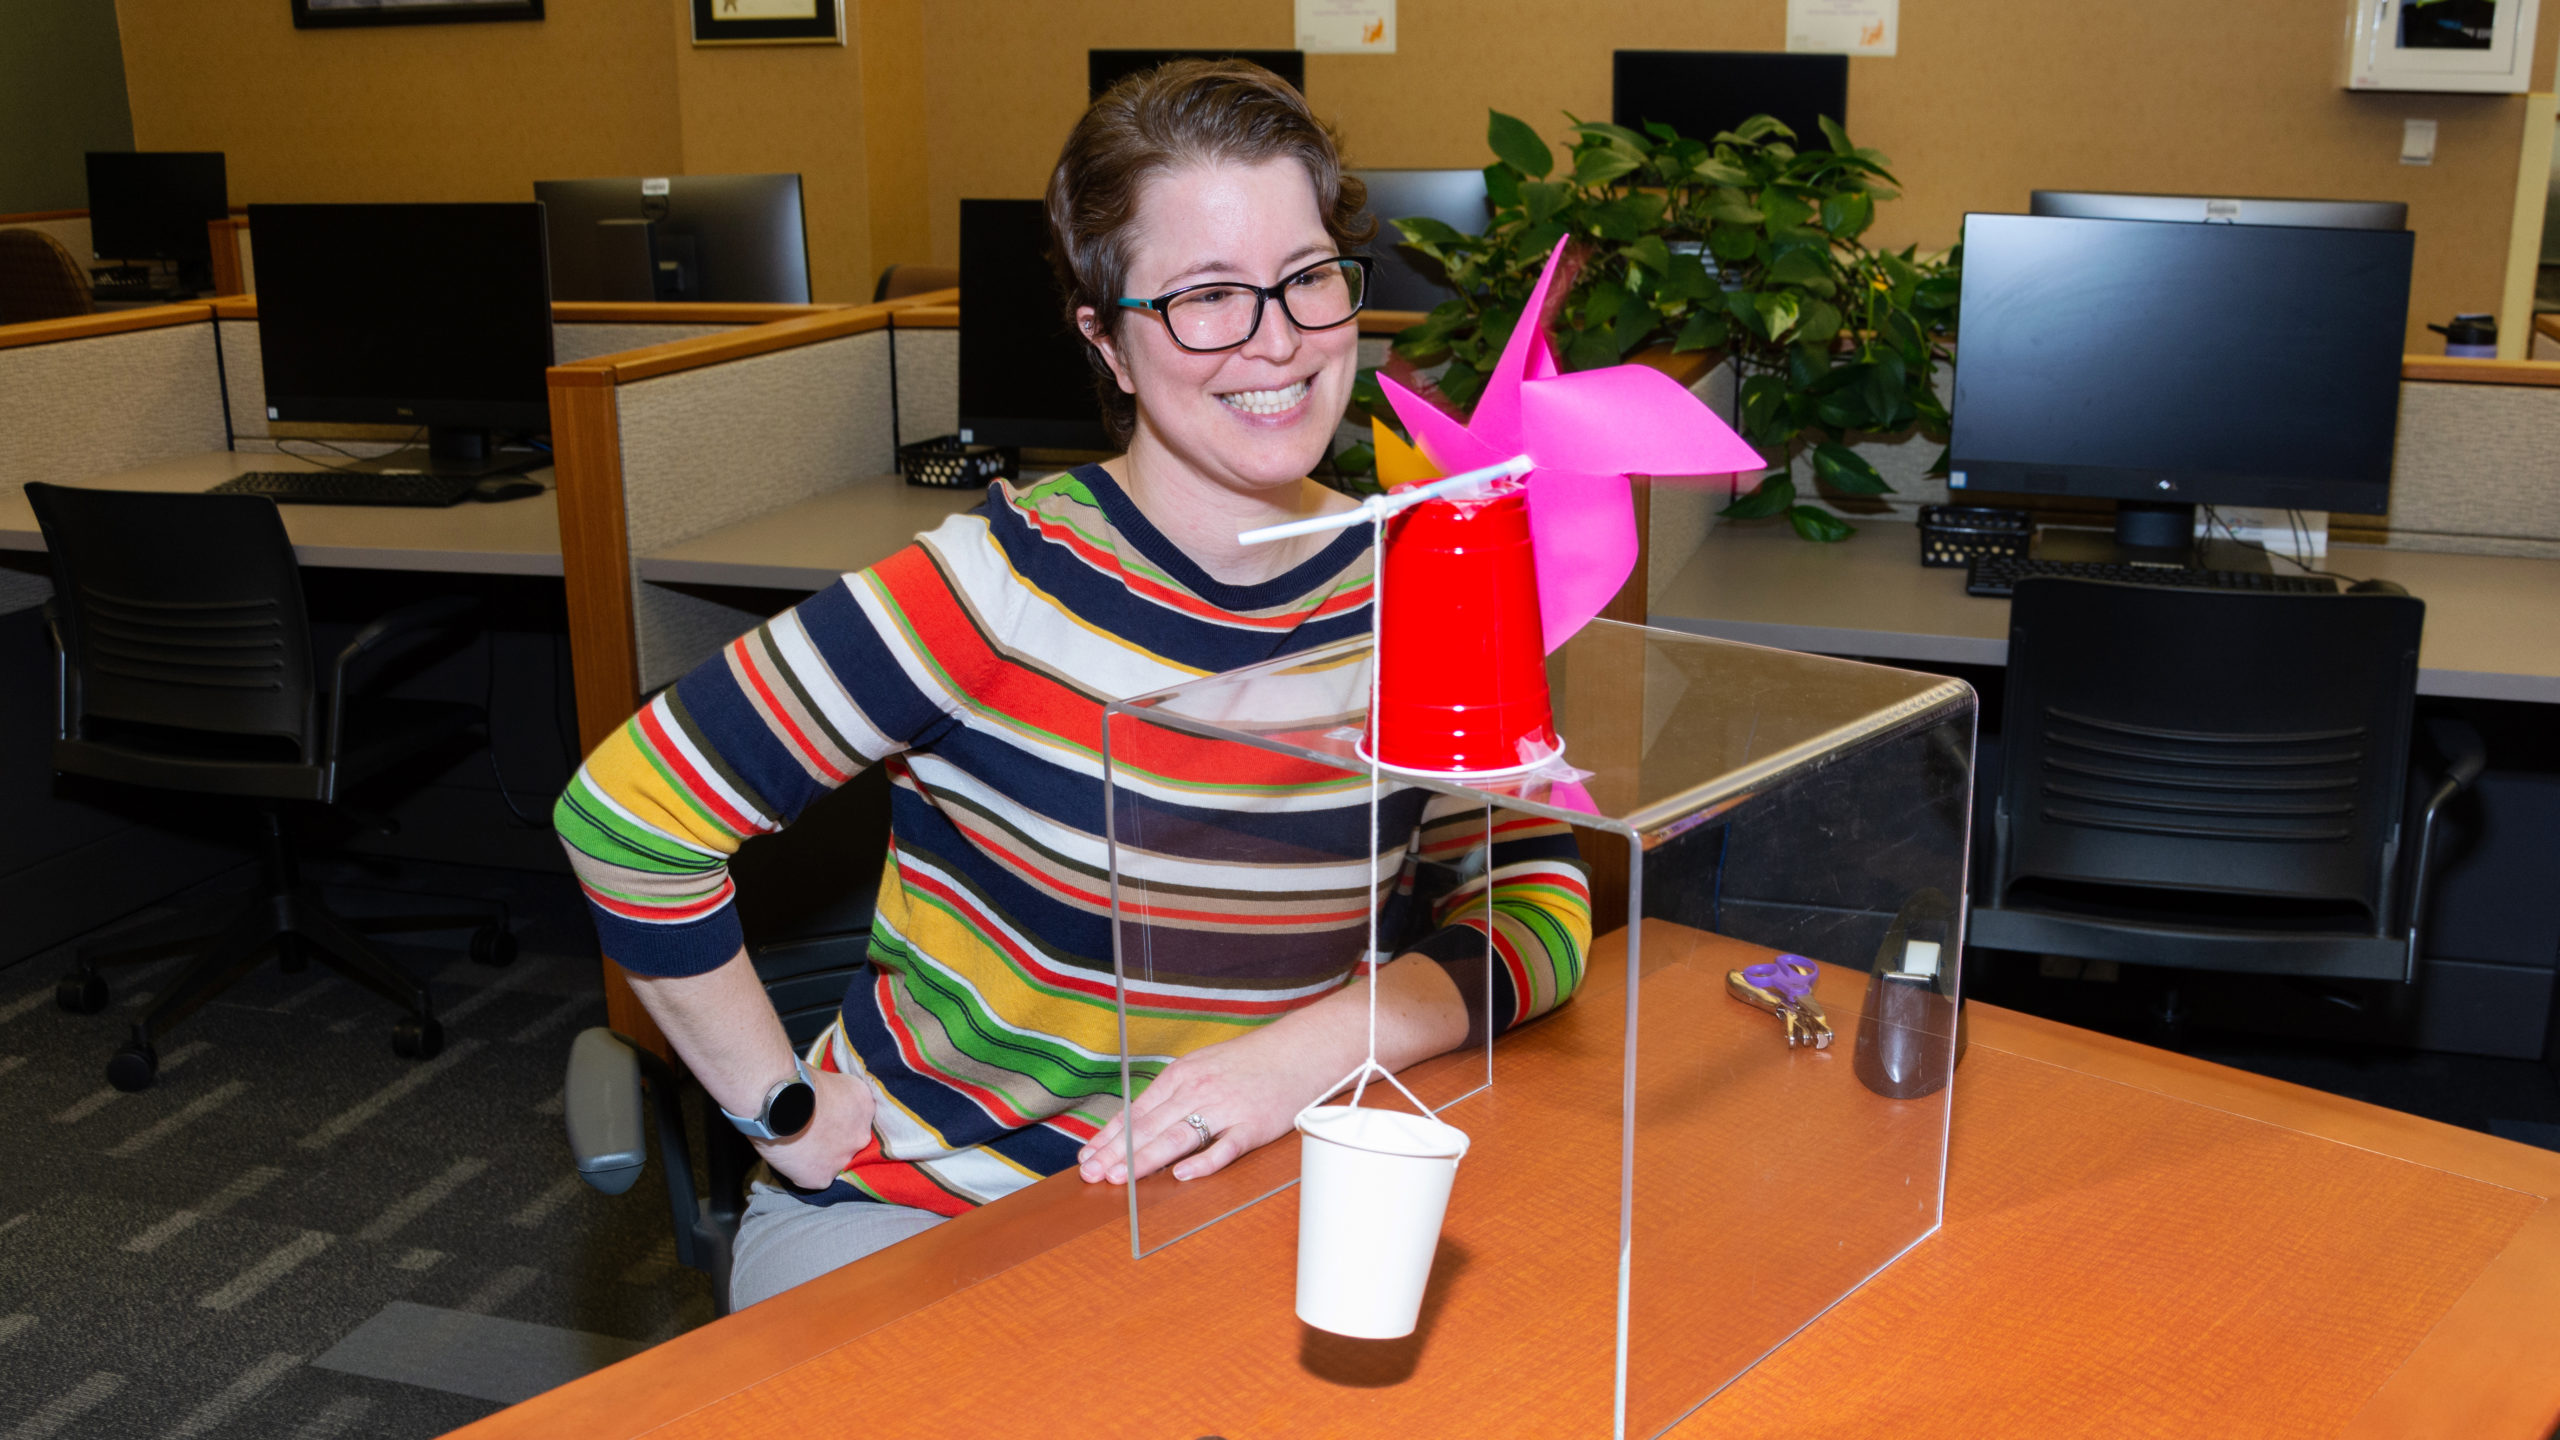
- Cut out a 6.5” by 6.5” square.
- Mark the center of your square and cut from the corners diagonally towards the center of the square, stopping about 1.5 inches from the center point.
- Use scissors or a hole punch to make a hole in the center and at the end of every other one of your 8 corners. The hole should be large enough for the small straw to fit into.
- Push the small straw through the center of your square and then bend (don’t fold) each of the corners onto the straw.
- Secure the front and back of the pinwheel with tape, a paperclip or rubber bands to keep the pinwheel together. There should be about an inch of space between the front and back of the pinwheel.
- Cut the large straw so that it is equal in length to the bottom of your large cup and secure it there using tape.
- Slide the end of your small straw through the large straw on your base. There should be about 1.5 inches of the small straw that extends past the base. You can trim the small straw if needed.
- Take your small cup and cut two holes in opposite sides and tie a small piece of string between the two holes, creating a sort of bucket handle.
- Secure one end of your string to the end of the small straw and tie the other end to the small cup handle.
- Place tape or a binder clip on the end of the small straw to keep the pieces together.
Now blow on your pinwheel and watch it lift the small cup!
Questions to consider
- What changes can you make that might make your design work faster or make it stronger?
- What is the maximum number of pennies your machine is able to lift?
- How long does it take your machine to lift the cup? What about with four pennies or eight?

Related Posts

Adapted Library: Fall Programs

Something About Libby: Magazines for Kids
